
Has your gleaming marble lost some of its luster over time? It’s not unusual for dull spots to appear on marble tile; the occasional flaw is simple to repair. Learn how to restore its luster with just a few specialized stone products. But if you are a busy person, just try to visit https://sg.lucemg.com/services/marble-polishing for marble polishing services.
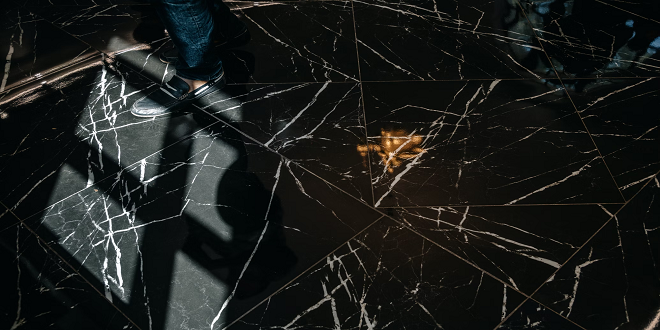
From Michelangelo’s David and Moses sculptures to The Taj Mahal, the marble can be a white or uniquely colorful type of limestone that has been exposed to extreme heat and pressure. So it is no surprise that marble is both valuable and costly in the modern home. Its stunning look, pattern depth, and distinctive markings make it a luxurious choice for flooring, countertops, tabletops, and vanities.
However, soft and crumbly marble counters have drawbacks, the most notable of which is their potential to stain or etch. Etching is a term used to describe blunted spots that sometimes appear arranged and feel slightly rough to the touch. These can happen after eating acidic or highly colored foods (red wine, tomatoes, vinegar, and citrus), as well as using acidic or abrasive cleaning supplies. While a matte marble finish can hide flaws, the glossy finish that most home owners prefer on their countertops eliminates every etch and stain.
But before knowing the ideas for cleaning your marble floor, we must know the two types of cleaning your marble:
1. Honed Marble Finish
The marble has been sanded in this manner to achieve a glossy finish—not quite matte, but certainly not shiny. Honed marble is less slippery than polished marble and is ideal for floors. Some homeowners prefer honed marble for their countertops because it scratches less easily than polished marble and hides etching better than a reflective surface.
2. Polished Marble Finish
It is the most preferred choice for kitchen countertops or table inlays. This less granular finish will not stain as quickly as honed marble and does not require the same frequency of sealing. Furthermore, its luster provides a semi-reflective surface that is both appealing and aids in making a small kitchen look bigger than its footprint.
Still, the beauty of marble, as well as the quality it adds to your kitchen and bathroom, makes it worth the extra effort. When your marble floors have lost their luster, the following procedures will restore them.
While it is possible to convert a polished marble floor to a honed surface, the project requires skill, expertise, and special equipment. In other words, if possible, leave this job to a specialist with a stone polishing machine. However, if you want to restore the shine to your polished marble counter or tabletop, you can do so with these simple supplies and steps.
Materials and Equipment Needed
- Sponge
- Hydrogen Peroxide
- Commercial Marble Cleaner
- Microfiber Cloth
- Ammonia
- Razor Blade
- Marble Sealer
- Marble Polishing Powder
- Plastic Wrap
STEP 1
Begin with a clean slate: sweep off crumbs and dust particles, then spray and wipe with a mild cleanser.
- The first step in reviving the luster of your marble is to clean it. Of course, you probably habitually whisk away crumbs and quickly wipe away clean-up spills or splatters, but when it comes time to really polish up the finish on your marble, you will go a little deeper.
- Wipe away dust and crumbs with a soft dry rag, then water the surface with a sponge. Next, use a manufacturer-approved commercial marble cleaner or a damp rag with a couple of drops of mild, non-abrasive dishwashing liquid as a cleaner. Using whichever method you prefer, apply the cleaner to the marble and wipe down any food or particle spots.
STEP 2
Stains can be removed with a commercial or homemade poultice that has been left to sit overnight.
- If your marble counters have slight discoloration caused by food or other household products, you must treat them before polishing. There are commercial marble stain removers, also known as poultices. You can also make your own by slowly combining one tablespoon of ammonia with half a cup of hydrogen peroxide and gradually adding just enough baking soda to achieve a thick, smooth texture.
- Scrape the crumbly poultice away with a razor blade, being careful not to cut or dig at the marble surface. Wipe the marble dry after removing any remaining poultice residue with a damp cloth.
STEP 3
Using a polishing powder, buff out the etching.
- Wipe the etched areas clean with a damp cloth and apply a small amount of marble polishing powder to the etched areas. Using a damp cloth, gently buff the powder into the spots as directed by the product. Remove the powder residue with a clean, damp rag, then wipe the marble dry to reveal its restored luster.
STEP 4
Seal the marble to protect it from future discoloration and etching.
- While sealing will not completely prevent discoloration, it will help your marble resist major stains and increase its luster. In general, you should seal your marble counters at least twice a year, but doing so every season will keep your counters looking their best. For product and application suggestions specific to your marble, contact the manufacturer of your countertop.
https://images.unsplash.com/photo-1567711355059-f263885c1189?crop=entropy&cs=tinysrgb&fm=jpg&ixlib=rb-1.2.1&q=80&raw_url=true&ixid=MnwxMjA3fDB8MHxwaG90by1wYWdlfHx8fGVufDB8fHx8&auto=format&fit=crop&w=2070